 Back to home
How do I assemble my Dual Monitor SmartDesk?
Table of Contents
Tools and Hardware
- Torx T30 Screwdriver

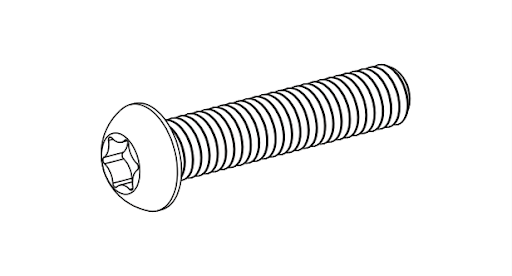
- 9x Screw A (M6 x 12mm)

- 8x Screw B (M6 x 16mm)

- 8x Screw C (M6 x 30mm)
- 4x Levelling Mount

Components
- Tabletop

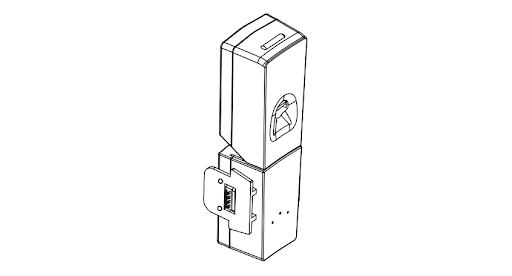
- 2x Lifting Columns

- 2x Feet

- Webcam
- Left Monitor

- Right Monitor

- CPU Mount*

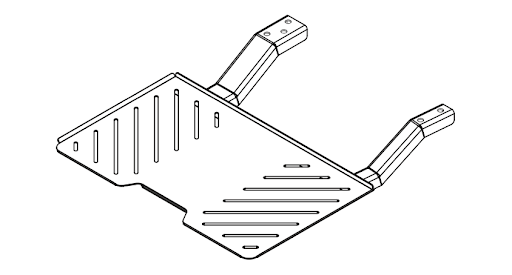
- Laptop Tray*
- Power Cord

- 4x Casters (optional)

* Only one computer mounting option is included based on selection at checkout.
Assembly Instructions
Monitor Mounts
-
Remove any packaging remaining on the tabletop, including any ties holding down the monitor mounts. Gently fold one of the monitor mounts down, tucking in excess cables as needed. Avoid letting the mount dangle by wires.

-
Attach the monitor mount to the tabletop frame using four Screw A, leaving the screws loose enough to adjust the monitor mount side to side. Repeat for the other monitor mount.

Legs
- Attach each leg to the tabletop frame using four Screw C on each leg. Plug the cable from each leg to the frame's matching connectors.

Feet
-
Attach each foot to each leg using four Screw A on each foot.

-
Attach two leveling mounts on each foot. Leveling mounts can be adjusted once the desk is in position if the floor is uneven.

-
If you ordered casters, install the casters instead.

Computer-Mounting
- For laptop tray option: Attach laptop tray using five Screw A.

-
For CPU mount option: Attach CPU mount using four Screw A.

Monitors
-
With the help of another person, flip the desk over onto the floor.

-
Slide each monitor onto the corresponding monitor mount. Some resistance may be felt as the electrical connection is made and the locking clip engages.

Webcam
-
Install the webcam from the back by sliding into the monitors until the locking mechanism clicks into place. Note that the monitor mounts may have to be adjusted side to side for alignment.

-
Tighten the screws on the monitor mounts fully.

Connect and Get to Work
-
Connect the power cable to a wall outlet and verify the SmartDesk is operating. Connect HDMI and USB cables to the computer.

- Tap the power button. All monitors should display a message or computer output, and the wireless charger should glow blue.

Support
Our priority is to deliver a seamless experience to our customers. If you aren’t satisfied, need assistance, or run into any problems, please do not hesitate to contact the SmartDesk team at +1-888-260-4252 (Weekdays 9 AM - 5 PM EST) or support@smartdesk.com.


